I had the chance to get some parts from a damaged board to use the for a new project - the "fancy clock".
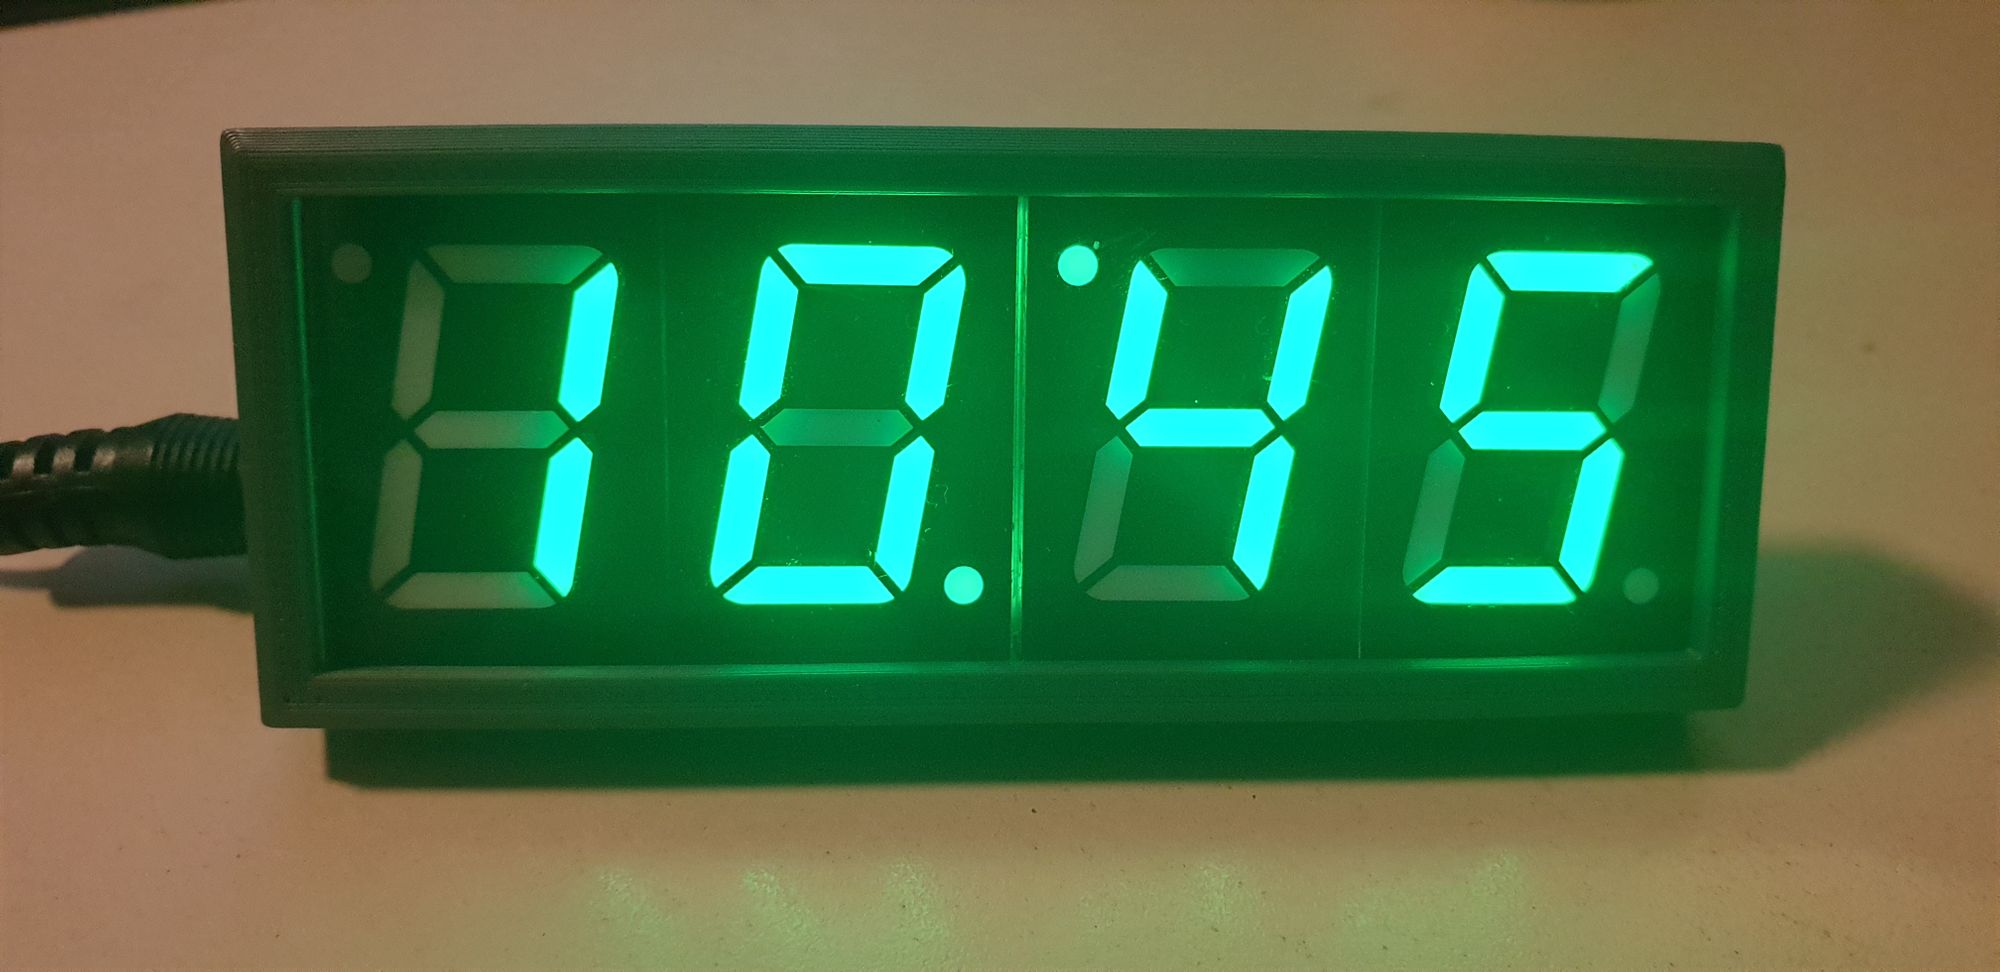
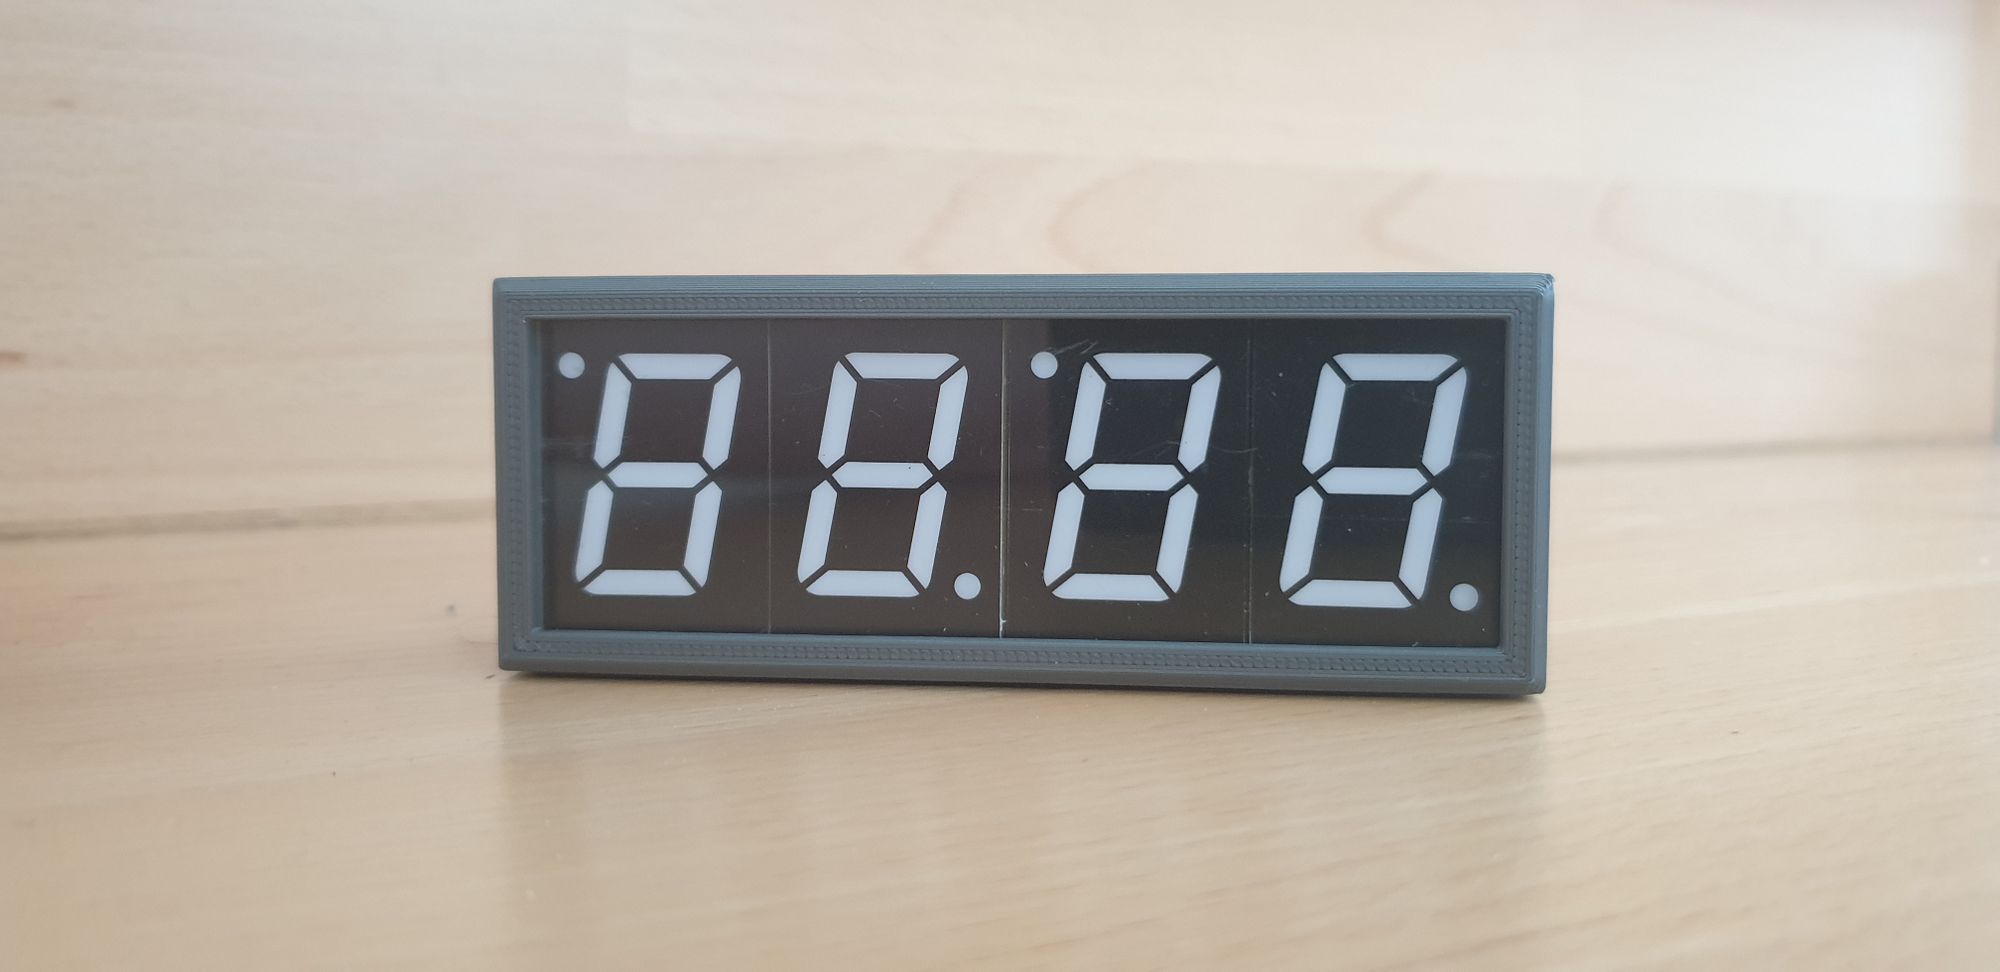
The main parts of the clock are the four 7-segment display that are driven, in a sequence, in order to give the 4 digit clock display. Tease are driven by the the microcontroller one at a time. The phosphorescent coating of the display helps to give the illusion that the segment is permanently lit.
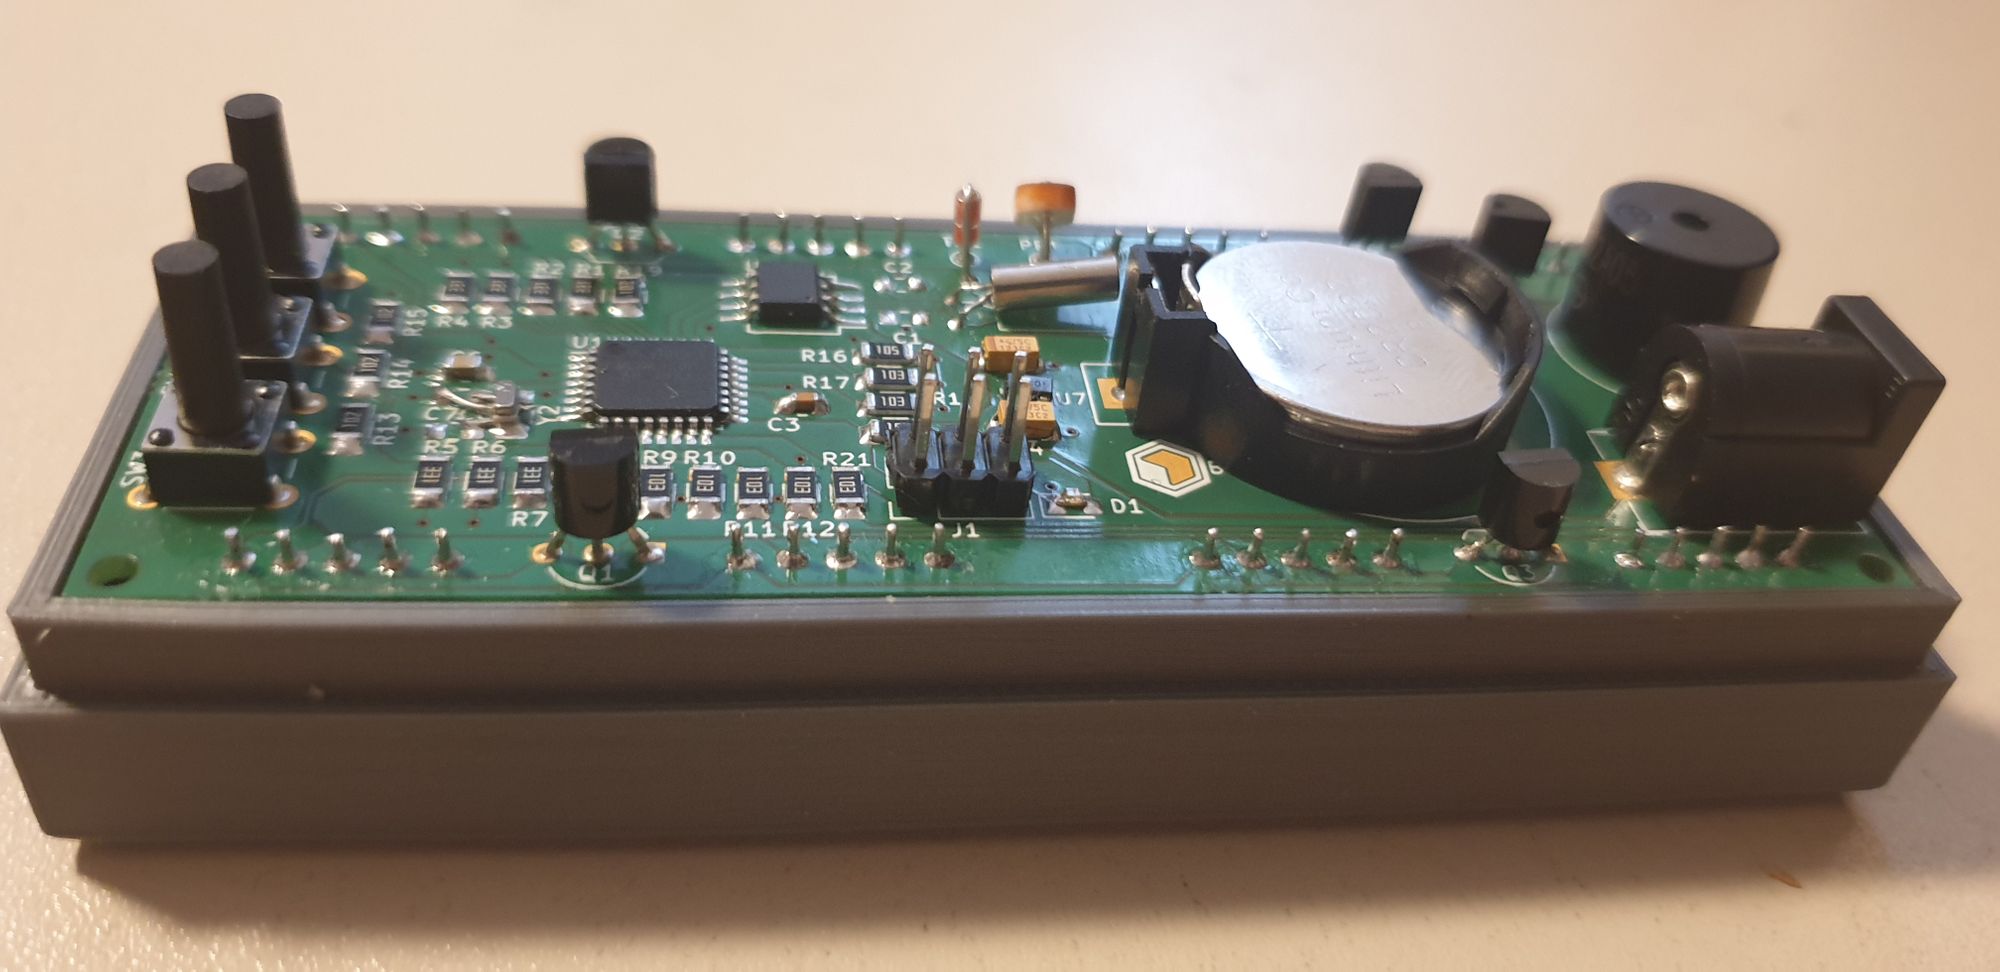
As a the main uC I decided to go with the ATmega328P as I had a few available and seemed ok from the programming point of view. As extra HW components I also opted for a light sensing resistor and a NTC Thermistor.
The user interaction is made using 3 buttons - SW1, SW2 and the RESET. A LED is always useful and for the ALARM functionality a simple active buzzer.
The time keeping chip is the DS1302 plus a extra battery to keep the clock running when not powered. In the same chip the alarm settings are also stored at it provides a set of RAM locations.
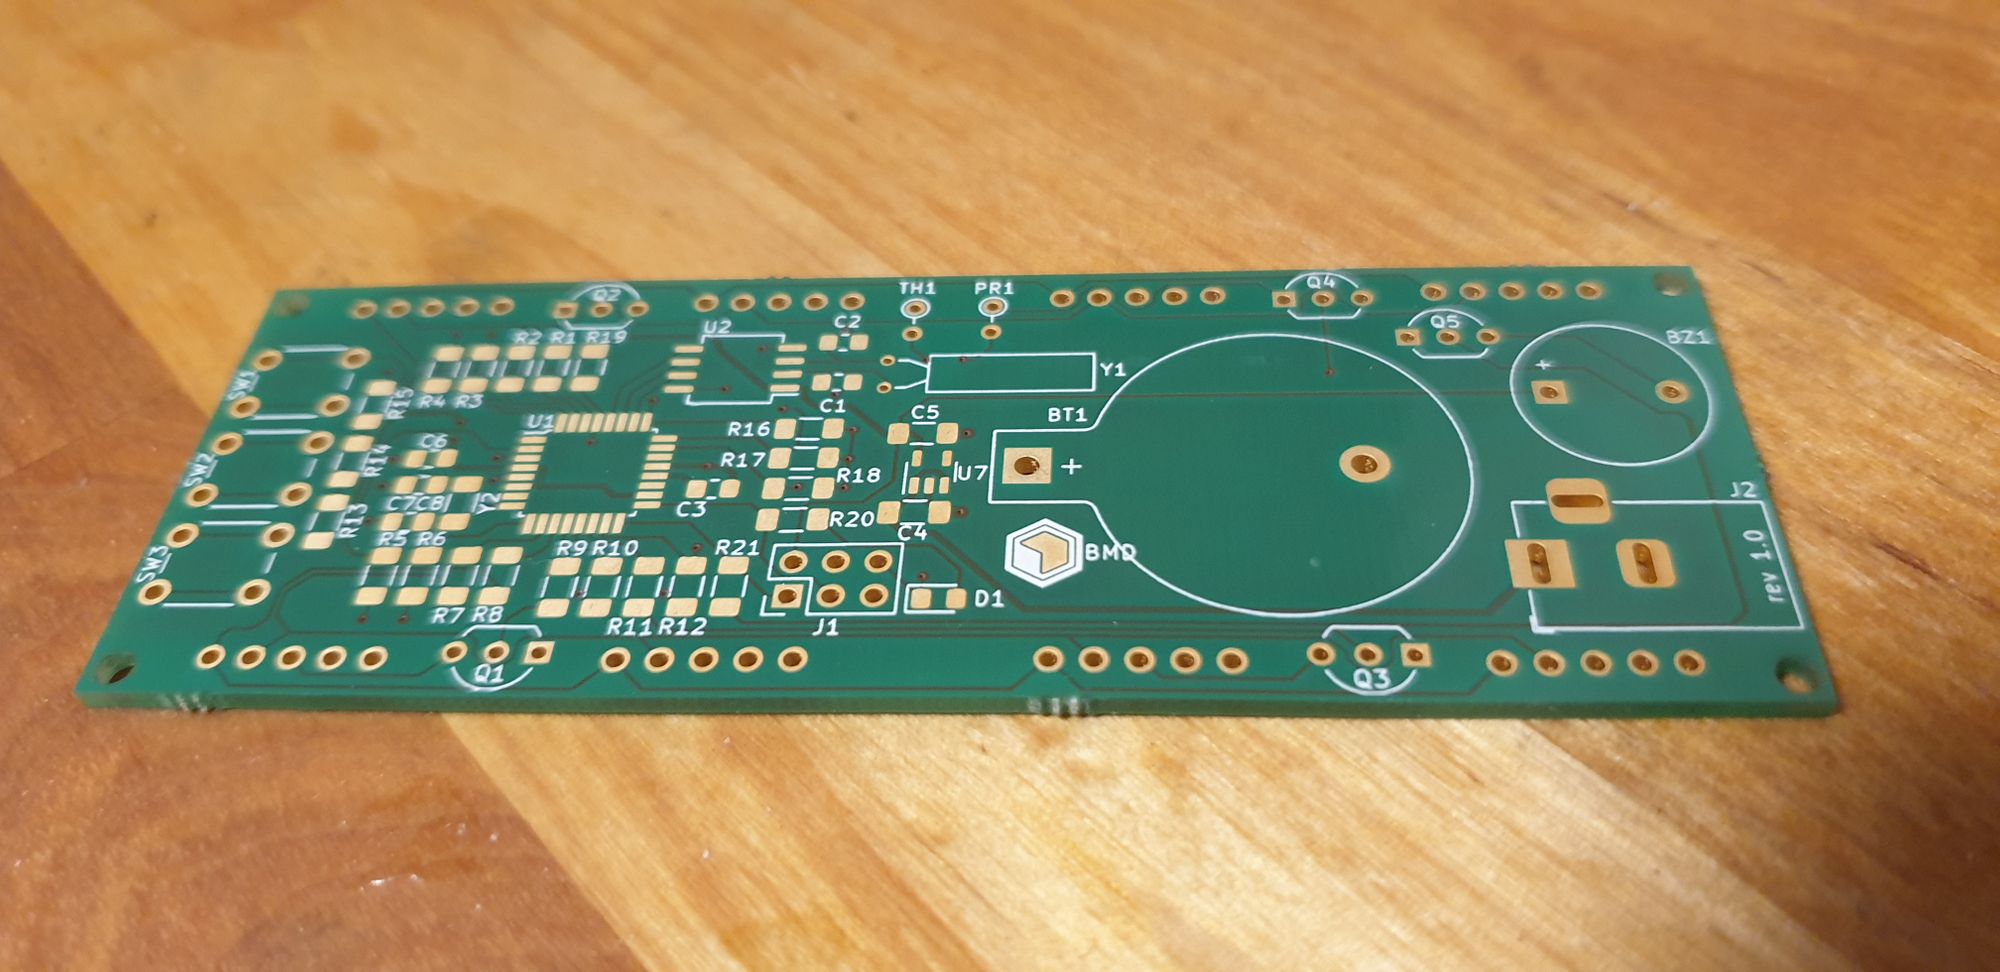
I have design a simple 2 layer PCB in kicad and decided to have-it produced at Aisler as I really like the quality and delivery speed of their service for small prototypes.


I have chosen to program the clock from scratch by using the actual uC registers and datasheet definition. In this way the program is very simple and efficient.
The program is executed in 2 threads:
- the main loop that handles the display
- a timer triggered task where the events are processed and the loop transition
The loop transition is defined in a small array and has basically 4 parts: the start state, the end state, trigger and callback.
typedef struct {
    loop_state_t        from;    // the state from which we need to transition
    loop_state_t        to;      // what state we shall transition to
    loop_transition_t  *pfn_go;  // transition trigger function
    loop_action_t      *pfn_do;  // transition callback funtion
} loop_state_transition_t;
......
static const loop_state_transition_t loop_state_transitions[] = {
    { loop_time,          loop_date,          button_1_released,        0                 },
    { loop_date,          loop_year,          button_1_released,        0                 },
    { loop_year,          loop_thermistor,    button_1_released,        0                 },
    { loop_thermistor,    loop_time,          button_1_released,        0                 },
    { loop_time,          loop_set_alarm,     button_2_hold_released,   alarm_init        },
    { loop_set_alarm,     loop_time,          button_2_hold_released,   alarm_set         },
    { loop_set_alarm,     loop_set_alarm,     button_2_released,        alarm_inc_digit   },
.....................

The full content of the project is available in github: https://github.com/bdmihai/fancy-clock
