Working with the esp32 looks at first challenging but with a little bit of research and experience I realized that is actually quite well documented and supported ecosystem. With very little money one can really get started with this very interesting platform.
Hardware
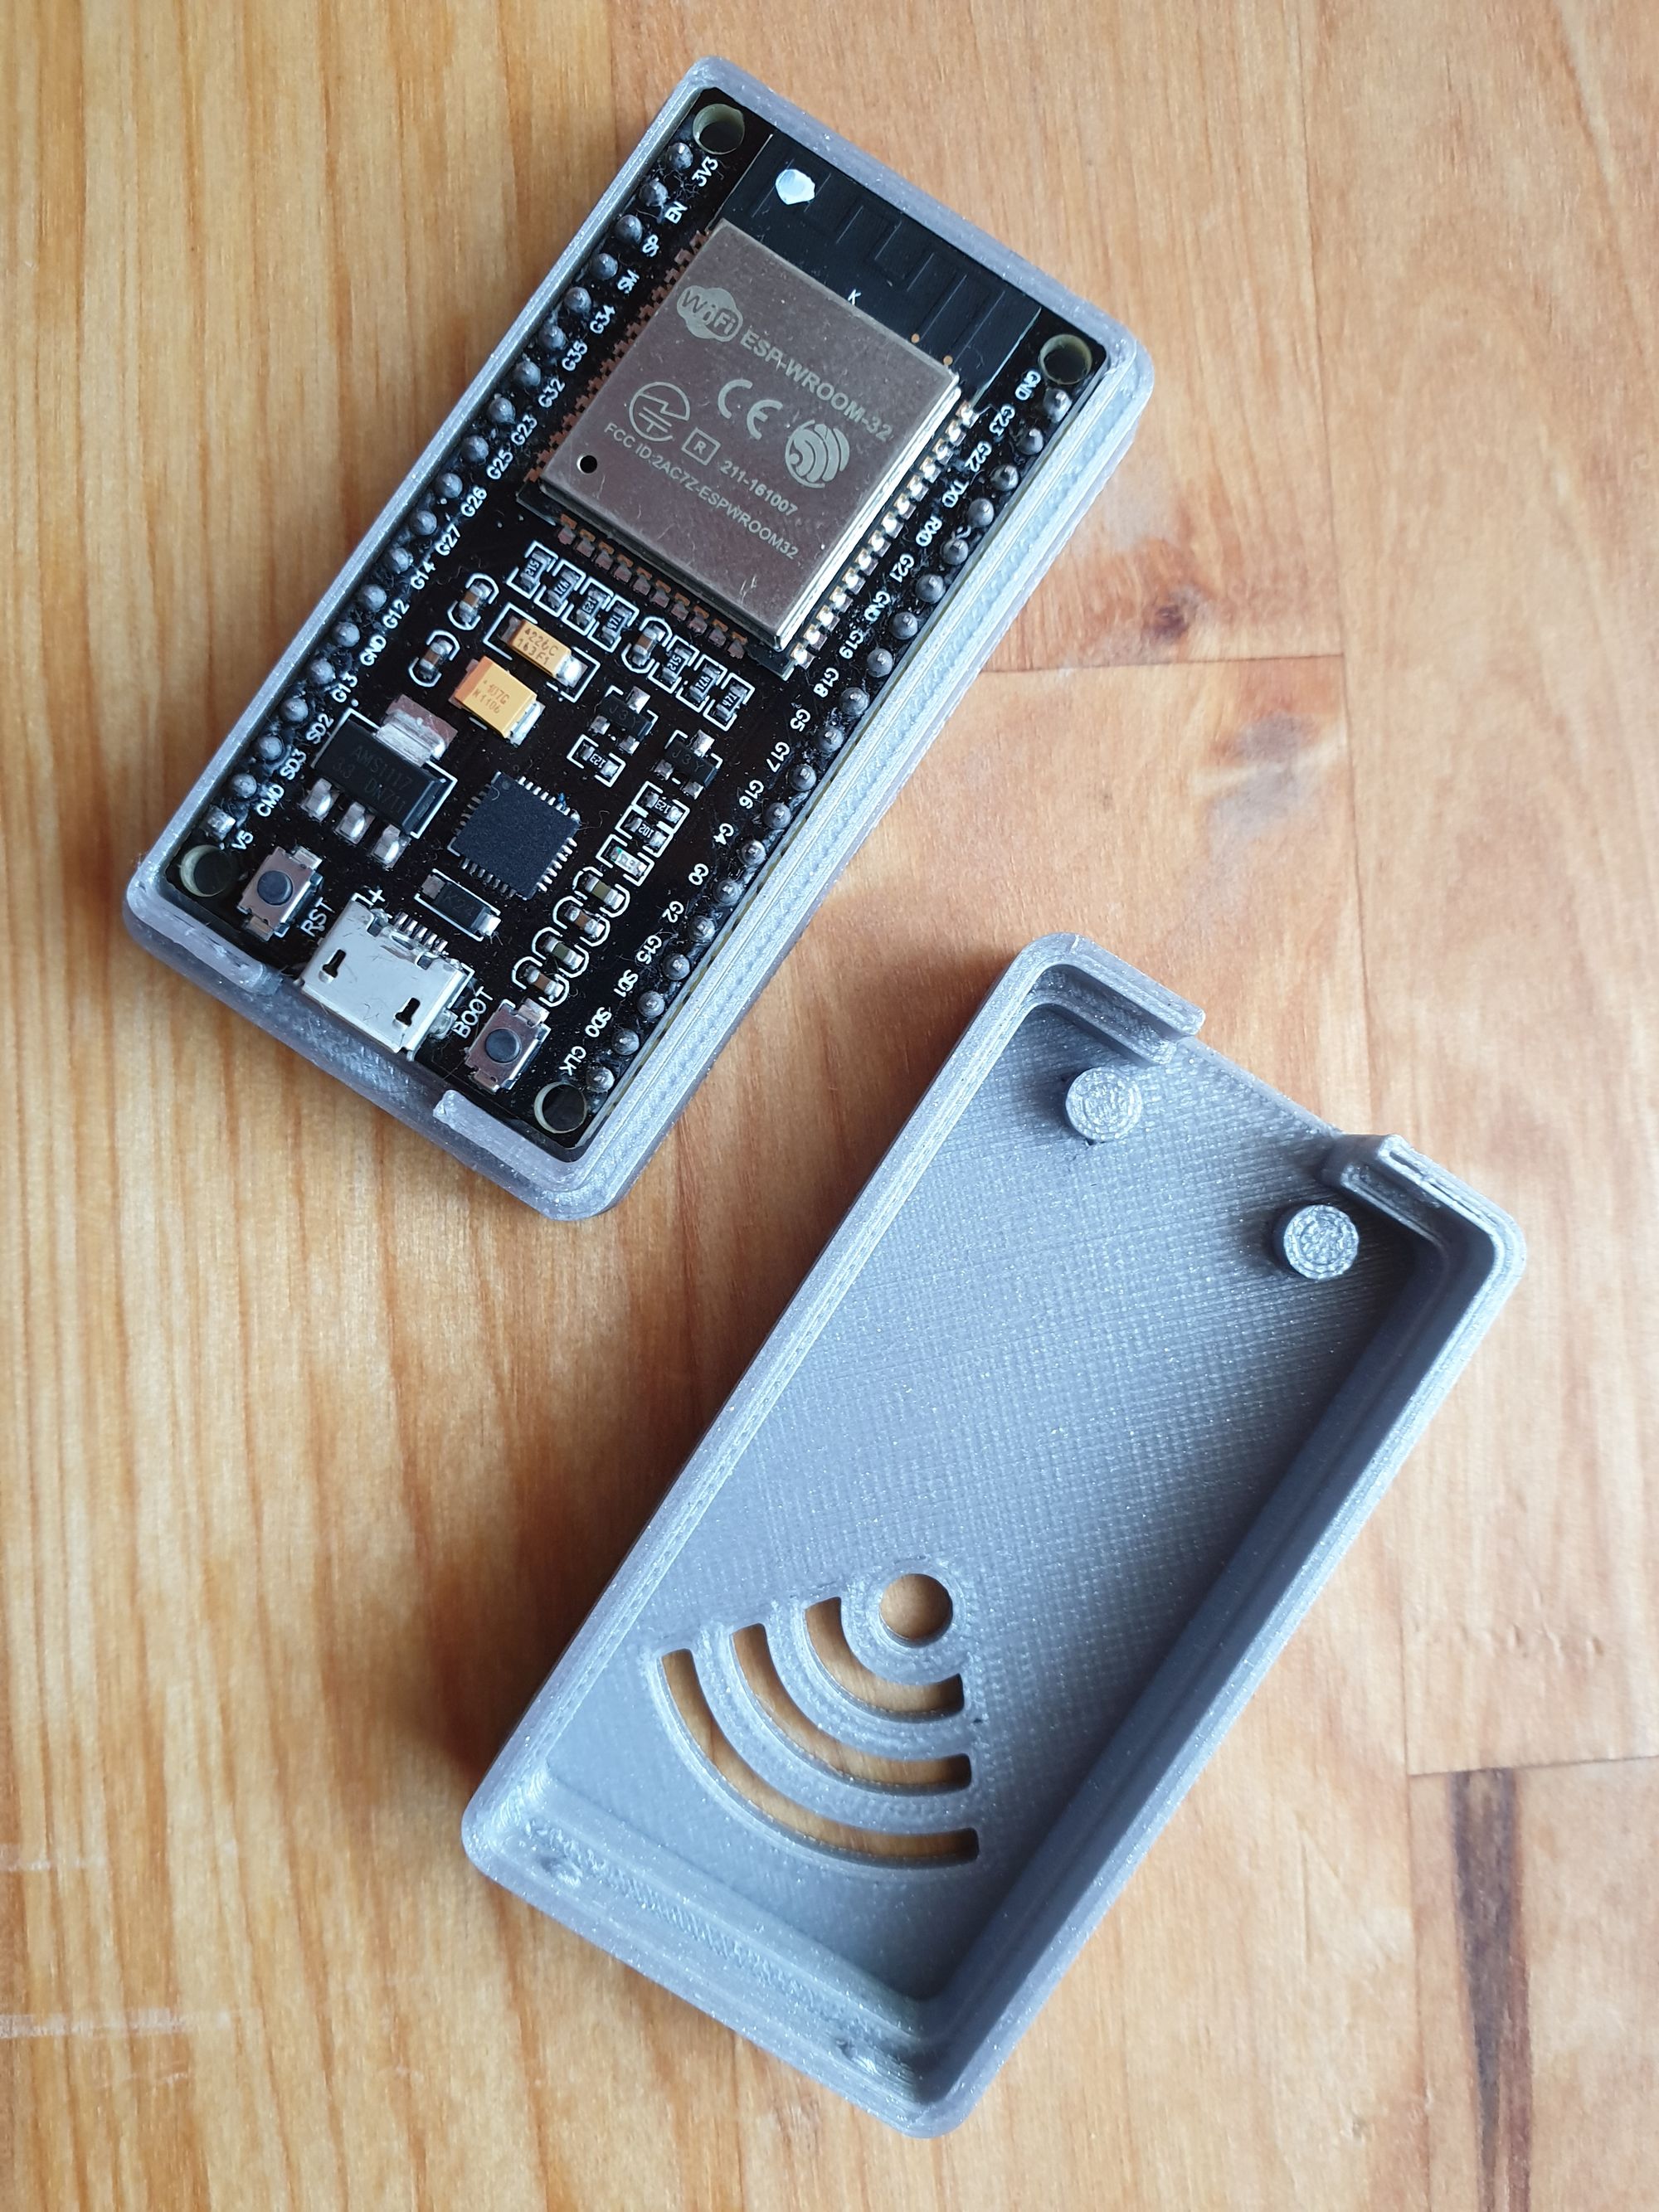
There are quite a lot of devices out there, from the most simple to the very complex, that make use of the esp32 but I would like only to show here the once that I have personally tested. One of the most affordable development boards is the ESP32-DevKitC (or one of its many Chinese variations). It is the basic one to get as a starter development board; it has all that is needed for the first programs: usb interface, status led and breakout pins, wifi and bluetooth, 4Mb of program flash and 520Kb of RAM.
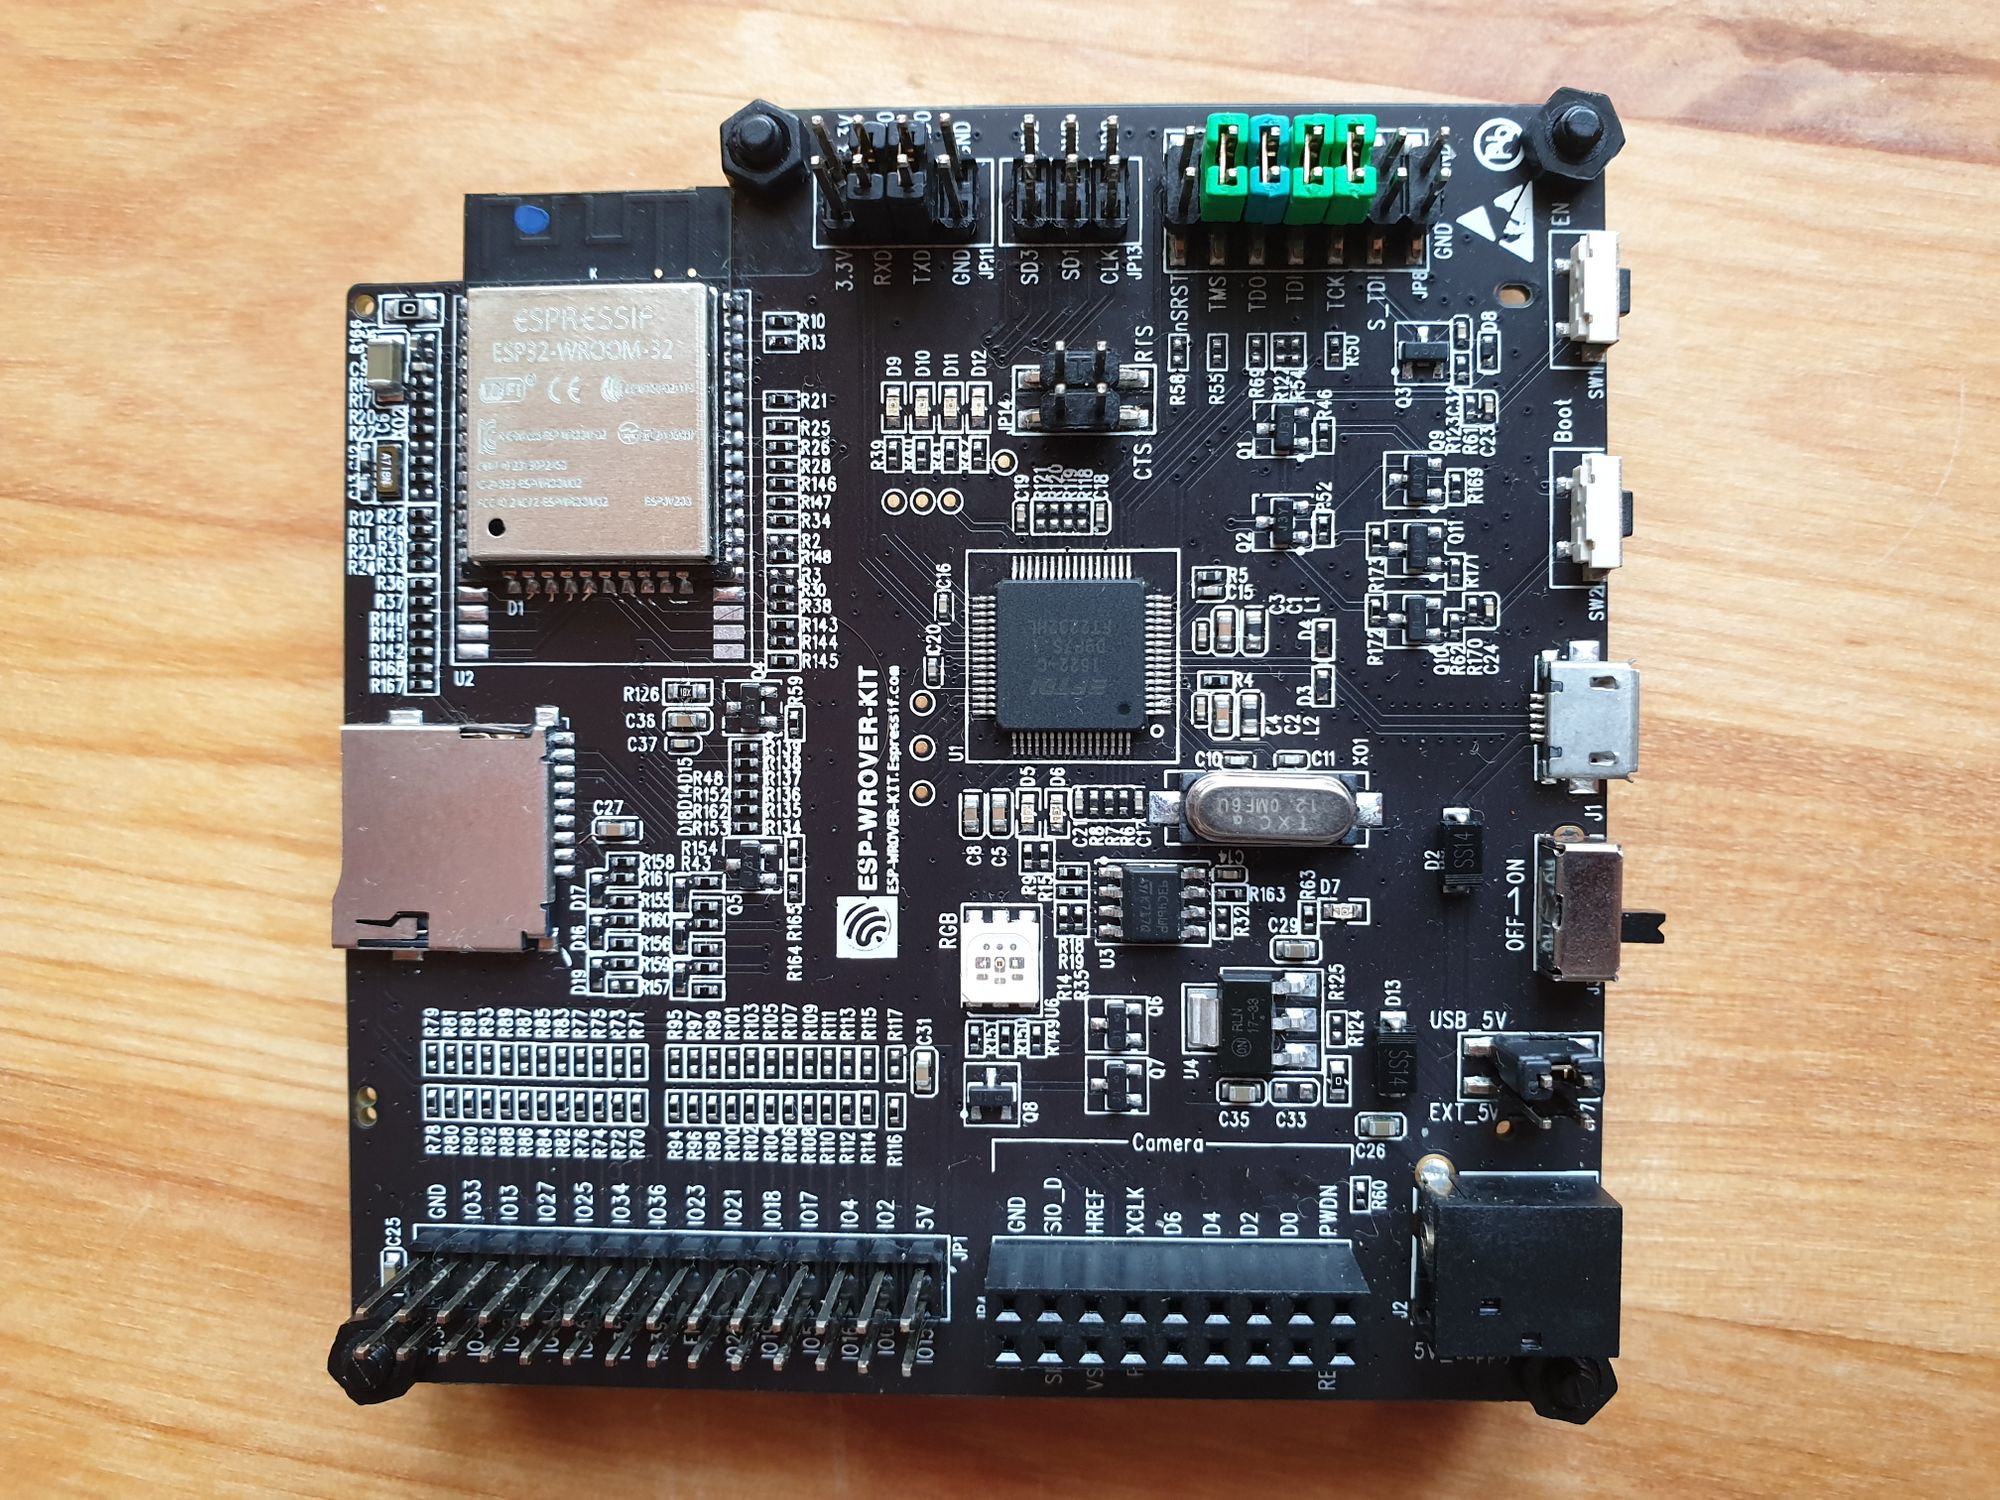
A more advanced development board is the ESP-WROVER-KIT. This option allows you to experiment with a few additional things like the LCD screen, RGB LED, SD card reader and what I think is the most important thing, the esp32 debugger. I choose this development board for the tutorial because of this extra feature. One can easily switch to a extra FTDI board if necessary (example for the Arduino Due: debugging-arduino-due).
I have a special adaptation done to one of my development boards where I have replaced the original esp32 module with a different one. The board comes with ESP32-WROVER soldered but for my projects I mainly use the ESP32-WROOM-32D. More info on modules is available here: https://docs.espressif.com/projects/esp-idf/en/latest/hw-reference/modules-and-boards.html
Operating System
The best way is to have a real linux OS. I did checked this on Windows and also using Virtual Box and reached the conclusion that running linux in parallel and switching to it on boot is the best option. I can recommend the Manjaro distribution for desktop as I thing is one of the most up-to-date and with the most features; any other could also do the job I'm sure.
My standard folder structure is as follows:
~/work/libraries  - all external libraries (e.g. qt, esp-idf, boost)
~/work/projects   - my projects
~/work/samples    - test something, then doit in here
~/work/tools      - tools used for development (usually self compiled)
Tools
Prepare the OS by installing the required tools:
sudo pacman -S --needed gcc git make ncurses flex bison gperf python2-pyserial python2-cryptography python2-future python2-pyparsing python2-pyelftools
Install Visual Studio Code. Depending on the linux distro more options are available. For me this one works: https://www.archlinux.org/packages/community/x86_64/code
Install the toolchain provided by Espressif. Some extra steps are required: https://docs.espressif.com/projects/esp-idf/en/latest/get-started/linux-setup.html
cd ~/work/tools
wget https://dl.espressif.com/dl/xtensa-esp32-elf-gcc8_2_0-esp32-2019r1-linux-amd64.tar.gz
tar -xzf xtensa-esp32-elf-gcc8_2_0-esp32-2019r1-linux-amd64.tar.gz
rm xtensa-esp32-elf-gcc8_2_0-esp32-2019r1-linux-amd64.tar.gz
OpenOCD for esp32:
cd ~/work/tools
wget https://github.com/espressif/openocd-esp32/releases/download/v0.10.0-esp32-20190708/openocd-esp32-linux64-0.10.0-esp32-20190708.tar.gz
tar -xzf openocd-esp32-linux64-0.10.0-esp32-20190708.tar.gz
rm openocd-esp32-linux64-0.10.0-esp32-20190708.tar.gz
Add the path to ~/.bashrc
...
export PATH="$HOME/work/tools/xtensa-esp32-elf/bin:$HOME/work/tools/openocd-esp32/bin:$PATH"
...
Libraries
Depending on task it might be good to work with a stable esp-idf release. For me the master will do:
cd ~/work/libraries
git clone --recursive https://github.com/espressif/esp-idf.git
Add the IDF_PATH to ~/.bashrc
export IDF_PATH="$HOME/work/libraries/esp-idf"
Getting started
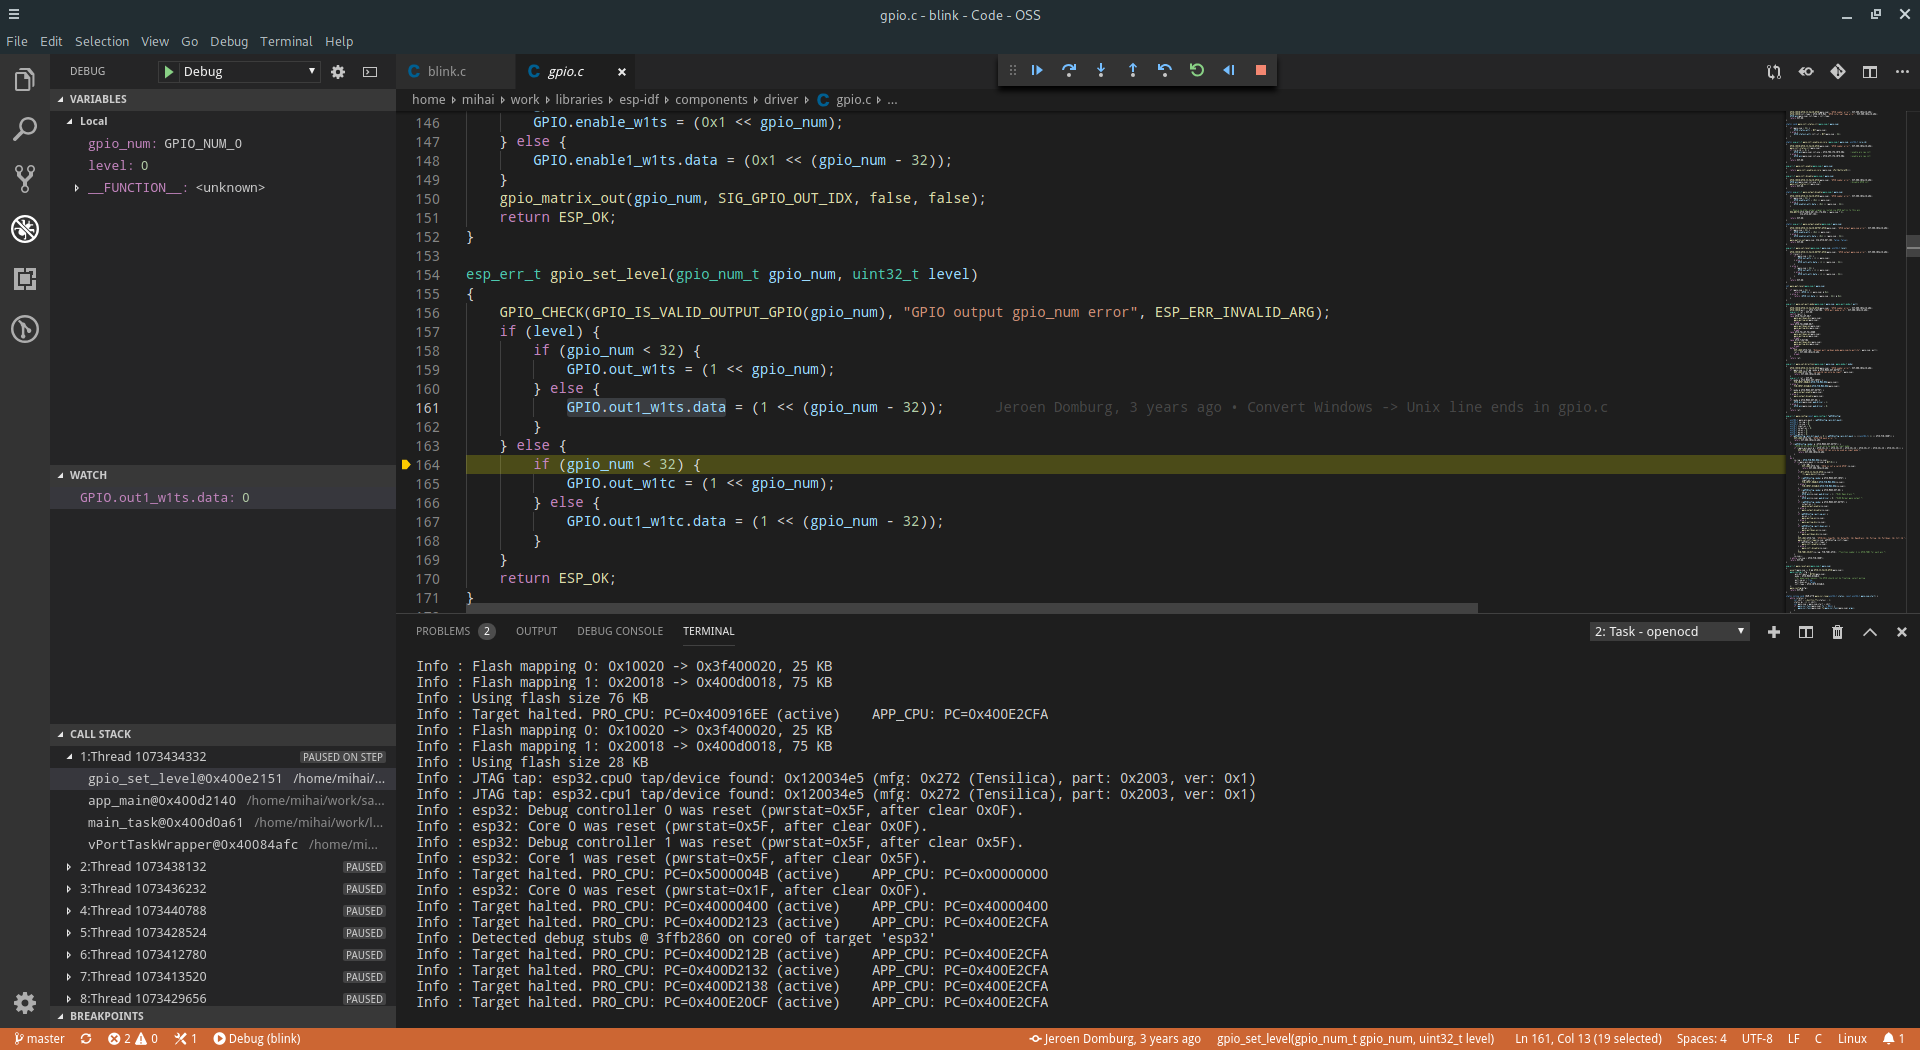
Copy the blink example from ~/work/libraries/esp-idf/examples/get-started to the samples directory, then open it in the VSCode editor. Here we can run all necessary commands to configure, build or start debugging in the terminal. A better way is to add tasks for each action. In this way is easy to remember and customize your build process: tasks.json
The debugger requires also a small configuration and the installation of the vscode extension Native Debug: launch.json
Using the tasks one can build, flash (via serial or using the debugger interface) and debug the esp32 module. With F5 the debugger starts and connects to the already running instance of openocd (start from task first!).
Happy coding!
Links:
https://docs.espressif.com/projects/esp-idf/en/latest/get-started/index.html#introduction
https://github.com/espressif/esp-idf
https://github.com/igrr/mkspiffs
https://github.com/espressif/esptool
https://github.com/espressif/openocd-esp32
https://code.visualstudio.com/docs/editor/tasks
https://marketplace.visualstudio.com/items?itemName=webfreak.debug